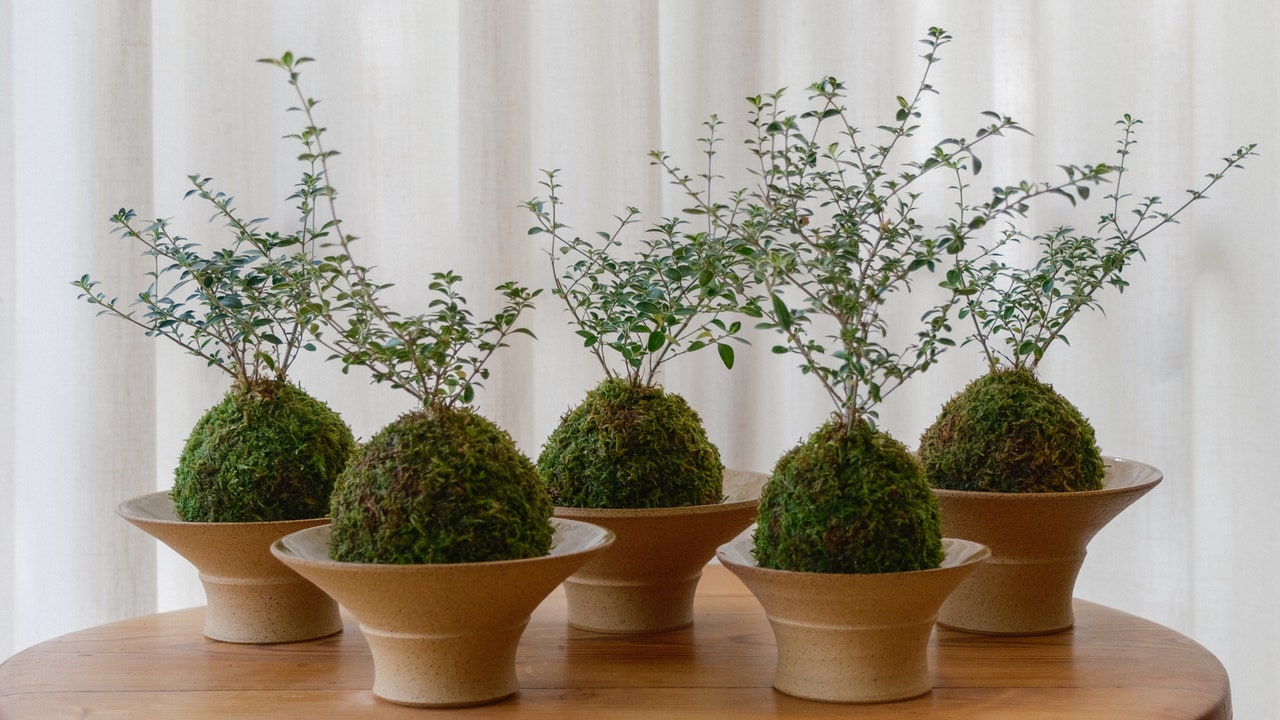
If you’re craving a botanical refresh but the same old cookie-cutter planters just aren’t doing the trick, perhaps it’s time to try kokedama, the Japanese art of transforming humble houseplants into moss-wrapped botanical sculptures. These DIY living sculptures are the perfect, verdant solution for any spot in your home: They’re fit for perching on a window sill, displaying as a stately centerpiece on a decorative plate, or (for some extra drama) hanging from the ceiling.
And the best part is that creating your own kokedama is wonderfully beginner-friendly. With just a houseplant, some soil, a bit of moss, and a willingness to get your hands dirty, the world is your greenhouse. Fair warning: Once you start making kokedama, every indoor plant you own may demand a mossy makeover.
What is kokedama?
With its name literally translating to “moss ball,” the centuries-old art of kokedama has its origins in Japanese horticulture and the practice of bonsai. At its core, a kokedama is a plant encased in a ball of soil, wrapped in moss, and secured with string. This moss ball serves as the plant’s “container,” allowing it to be displayed in a myriad of ways, without being beholden to size restrictions—or gravity. Like bonsai, encasing of the plant’s roots limits its growth, making it both versatile and whimsical. Kokedama can be crafted using a wide variety of plants, from curly ferns and resilient pothos to flowering plants, succulents, and even small trees.
Kokedama can be viewed as a descendent of the Japanese wabi sabi aesthetic philosophy, which celebrates perfection in imperfection and the transience of nature. In recent years, the humble practice of kokedama has gained international attention as a stylish and sustainable way to incorporate greenery into homes, especially in urban environments where space is at a premium.
Some of the most masterful kokedamas combine species to create tiny ecosystems or boast diverse floral arrangements, using plants in visually complementary and sculpturally-unique ways. All in all, the moss-cloaked simplicity of this Japanese art form embodies minimalism and natural balance, but leaves room for imagination.
How to create kokedama
The process of DIY’ing your kokedama is fairly straightforward: select your plant, encase the roots in soil, swathe with layers of moss, and wrap with string to secure. However, in practice, it can be messy and difficult. Benji Le, a plant and gardening expert, recommends the below beginner-friendly technique, which uses a tea bag to enclose the roots, followed by wrapping it in a layer of sphagnum moss and finishing with sheet moss.
“I’ve found that adding this dried sphagnum moss layer in between gives more substrate for the plant to grow on,” Le explains. “It also helps retain more water, which is really important for kokedama, because they dry out quickly.”
Step 1: Choose your houseplant
Arguably one of the most important steps, choosing your houseplant will determine the size and future care regime of your kokedama. Tropical plants, such as philodendron or pothos, grow quickly, and will require more room for their roots to grow, as well as frequent watering. A slow-growing houseplant, such as a peperomia or small fern, will require less care and makes a good beginner’s choice.
Step 2: Prepare your houseplant
Start by cleaning the roots of your houseplant—running them lightly under water or sitting them in a bowl of water can help loosen the soil from the roots. Be careful not to damage the root system.
Step 3: Place your plant in soil
Take a tea bag or similarly sized porous mesh bag and fill it halfway with akadama, also known as bonsai soil. Then take your houseplant and gently place its roots inside the bag. Tie the bag so that the roots and soil are entirely enclosed.
Step 4: Shape your moss ball


